TL;DR
Jupiter Plugin gives you the same swap experience as jup.ag, embedded directly in your app. One script tag, one function call. No RPC node, no wallet adapter code, no UI to build. Powered by Ultra, which handles routing, slippage, MEV protection, and transaction sending.Prerequisites
No API key or RPC node required. Jupiter Plugin handles all infrastructure. For framework-based apps, you need Node.js and npm installed from nodejs.org. For plain HTML, you just need a browser.Quick start
The simplest way to add a swap widget: a single HTML file:swap.html, serve it locally, and open it in your browser:
Try it yourself
Not ready to write code? The Plugin Playground lets you experience the full swap widget live in your browser. Switch display modes, set token defaults, tweak colours, and copy the generated code when you’re ready to integrate.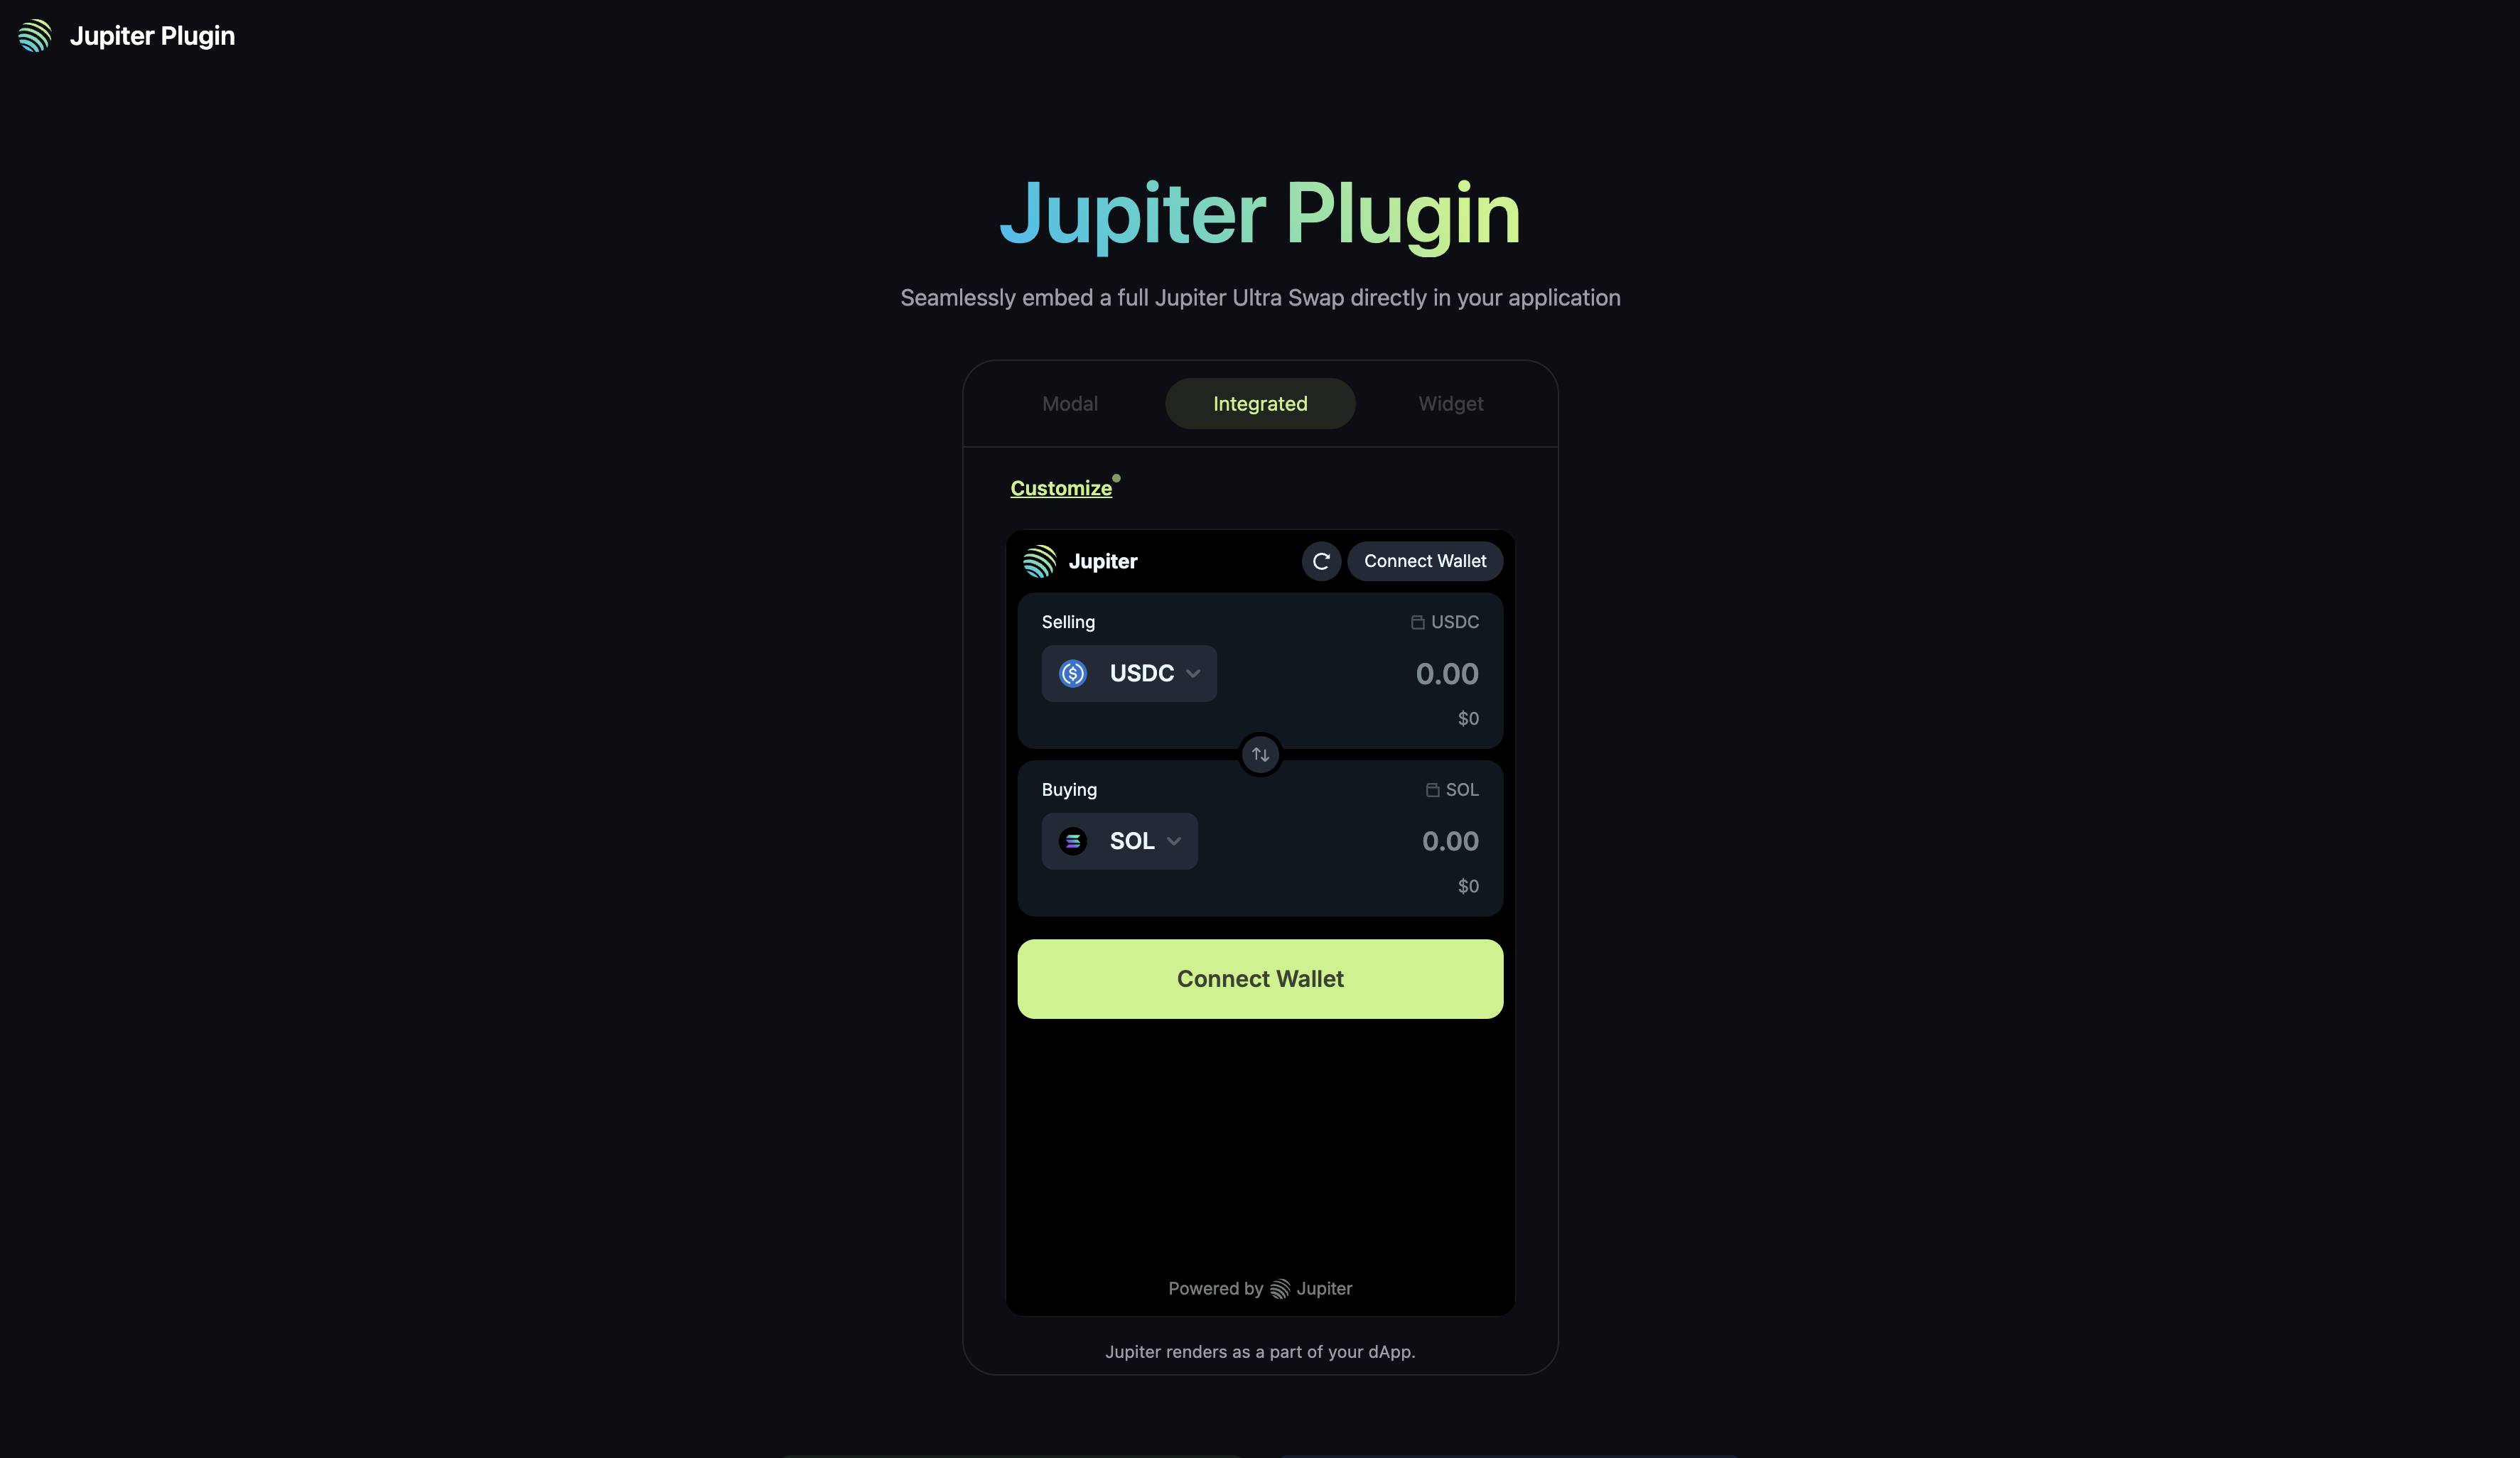
When you need this
You want to add swap functionality to your app or website without building any of it yourself:- App with swap: Your app needs token swaps but you don’t want to build the UI, handle transactions, or run an RPC node.
- Community token site: Let your community buy your token directly on your website by locking the output mint with
fixedMint. - Quick swap access: Add a floating widget to any page for convenient swapping.
- “embed swap widget solana”
- “add token swap to my website”
- “jupiter plugin integration”
- “buy token widget solana”
- “solana swap widget no backend”
- “drop-in swap component solana”
- “add jupiter swap to react app”
- “token swap widget html”
Why Jupiter Plugin
Building a swap interface from scratch means:- Running an RPC node
- Integrating a wallet adapter
- Building the swap UI
- Handling quoting, routing, slippage, and MEV protection
- Managing transaction errors and retries
- No RPC: Powered by Ultra, which handles all transaction sending.
- No wallet code: Plugin provides wallet connection out of the box (users connect their existing browser wallet like Phantom or Backpack).
- No UI to build: Complete swap interface with token search, price display, and transaction status.
- No error handling: Plugin manages slippage, retries, and transaction failures.
Code examples
Add the plugin script to your page, then callwindow.Jupiter.init(). Here’s a complete working example for each framework:
Configuration
Display modes
Jupiter Plugin offers three display modes:| Mode | Description | Use case |
|---|---|---|
integrated | Embeds directly in your page layout | Dedicated swap page or section |
widget | Floating button that expands to a swap form | Quick access on any page |
modal | Popup overlay triggered by your app | On-demand swap without layout changes |
Form props
Pre-configure the swap form withformProps:
| Prop | Type | Description |
|---|---|---|
initialInputMint | string | Pre-select the input token (mint address) |
initialOutputMint | string | Pre-select the output token (mint address) |
initialAmount | string | Pre-fill the swap amount |
fixedMint | string | Lock one side of the swap to a specific token |
fixedAmount | boolean | Prevent users from changing the amount |
swapMode | string | "ExactIn", "ExactOut", or "ExactInOrOut" (default) |
Wallet passthrough
If your app already has a wallet provider (e.g. via@solana/wallet-adapter), you can pass the wallet state through to Plugin instead of having users connect twice:
Referral fees
Earn fees on swaps through the Jupiter Referral Program:Branding
Add your logo and name to the Plugin:Colour theme
Customise colours via CSS variables in your global stylesheet:Event handling
Track swap results in your app:Common questions
Do I need an API key or RPC node?
Do I need an API key or RPC node?
No. Jupiter Plugin handles all infrastructure through Ultra. No API key, no RPC node, no backend required.
Can I lock the swap to a specific token?
Can I lock the swap to a specific token?
Yes. Use
formProps.fixedMint to lock one side of the swap to a specific token mint address. Combine with fixedAmount to also lock the amount (useful for payment flows).How do users connect their wallet?
How do users connect their wallet?
Plugin provides wallet connection out of the box. Users click the connect button in the widget and select their browser wallet (Phantom, Backpack, etc.). If your app already has a wallet provider, use
enableWalletPassthrough to avoid a double connection.How do I test before deploying?
How do I test before deploying?
Use the Plugin Playground to experiment with display modes, form props, and colour themes. It generates the configuration code for you.
Why does integrated mode have no height?
Why does integrated mode have no height?
The integrated mode container needs a fixed height. Set it on your target div:
Next steps
- Plugin Playground: Experiment with configuration and get code snippets.
- Customisation Reference: Full configuration options and TypeScript types.
- Framework Walkthroughs: Step-by-step guides for Next.js, React, and HTML.
- Referral Program: Earn fees on swaps through your integration.
- Jupiter Dev Notifications: Plugin updates and announcements.